
How to Install and Run DeepSeek on Mac M2? A Step-by-Step Guide
Introduction
DeepSeek is a powerful open-source AI language model designed for high-performance natural language processing tasks. It is developed as an alternative to models like GPT-4 and LLaMA, offering competitive accuracy and efficiency while allowing users to run it locally.
Key reasons why DeepSeek is worth exploring:
- Open-source & customizable – Unlike many proprietary models, DeepSeek allows for modifications and fine-tuning.
- Performance – It offers strong reasoning, code generation, and text completion capabilities.
- Cost efficiency – Running it locally eliminates API costs associated with cloud-based LLMs.
- Privacy & security – Since all processing happens on your device, there’s no risk of data leaks through third-party APIs.
Why run it locally on a Mac M2? (performance, privacy, experimentation). Overview of different launch methods (WebUI, Ollama, Python).
Installing DeepSeek on Mac M2
System Requirements
Before installing DeepSeek on your Mac M2, ensure your system meets the following requirements:
- macOS Version: macOS 13 Ventura or later (recommended macOS 14 Sonoma for better performance).
- Processor: Apple Silicon (M1, M2, or M3 chip).
- RAM: At least 8GB, but 16GB+ is recommended for smoother operation.
- Storage: At least 20GB of free space (the model files can be large).
Software Dependencies:
- Homebrew
- Python 3.10+
- Ollama
- Docker
- DeepSeek Model Files
Running DeepSeek with Ollama
First we need to install Ollama using Homebrew
brew install ollama
After installation, we can use ollama to download any model
ollama pull deepseek-r1
# or you can chose specific model
ollama pull deepseek-r1:14b
You can see all models on 🤗 Hugging Face
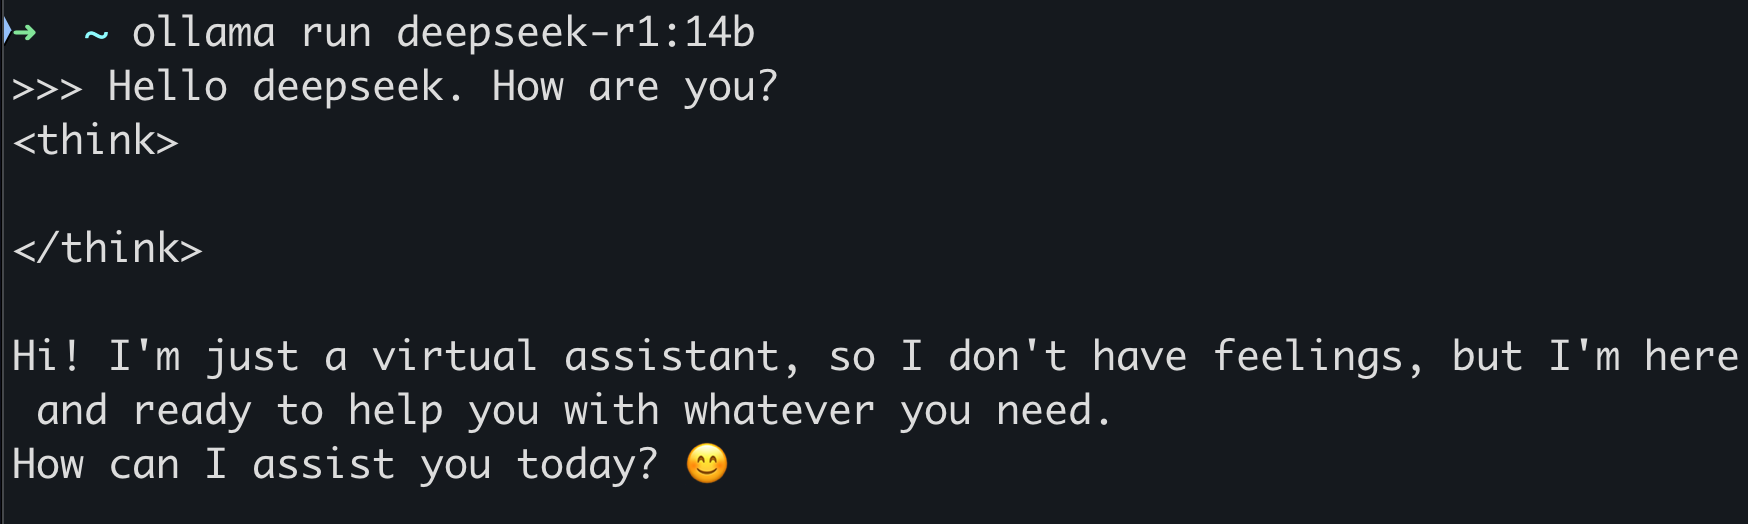
After downloading, we run the model and we can chat with it
ollama run deepseek-r1:14b
Ollama useful commands:
# Run model
ollama run [model]

# Model update or downlead
ollama pull [model]

# Models list
ollama list

# Remove models
ollama rm [model]
Running DeepSeek via WebUI
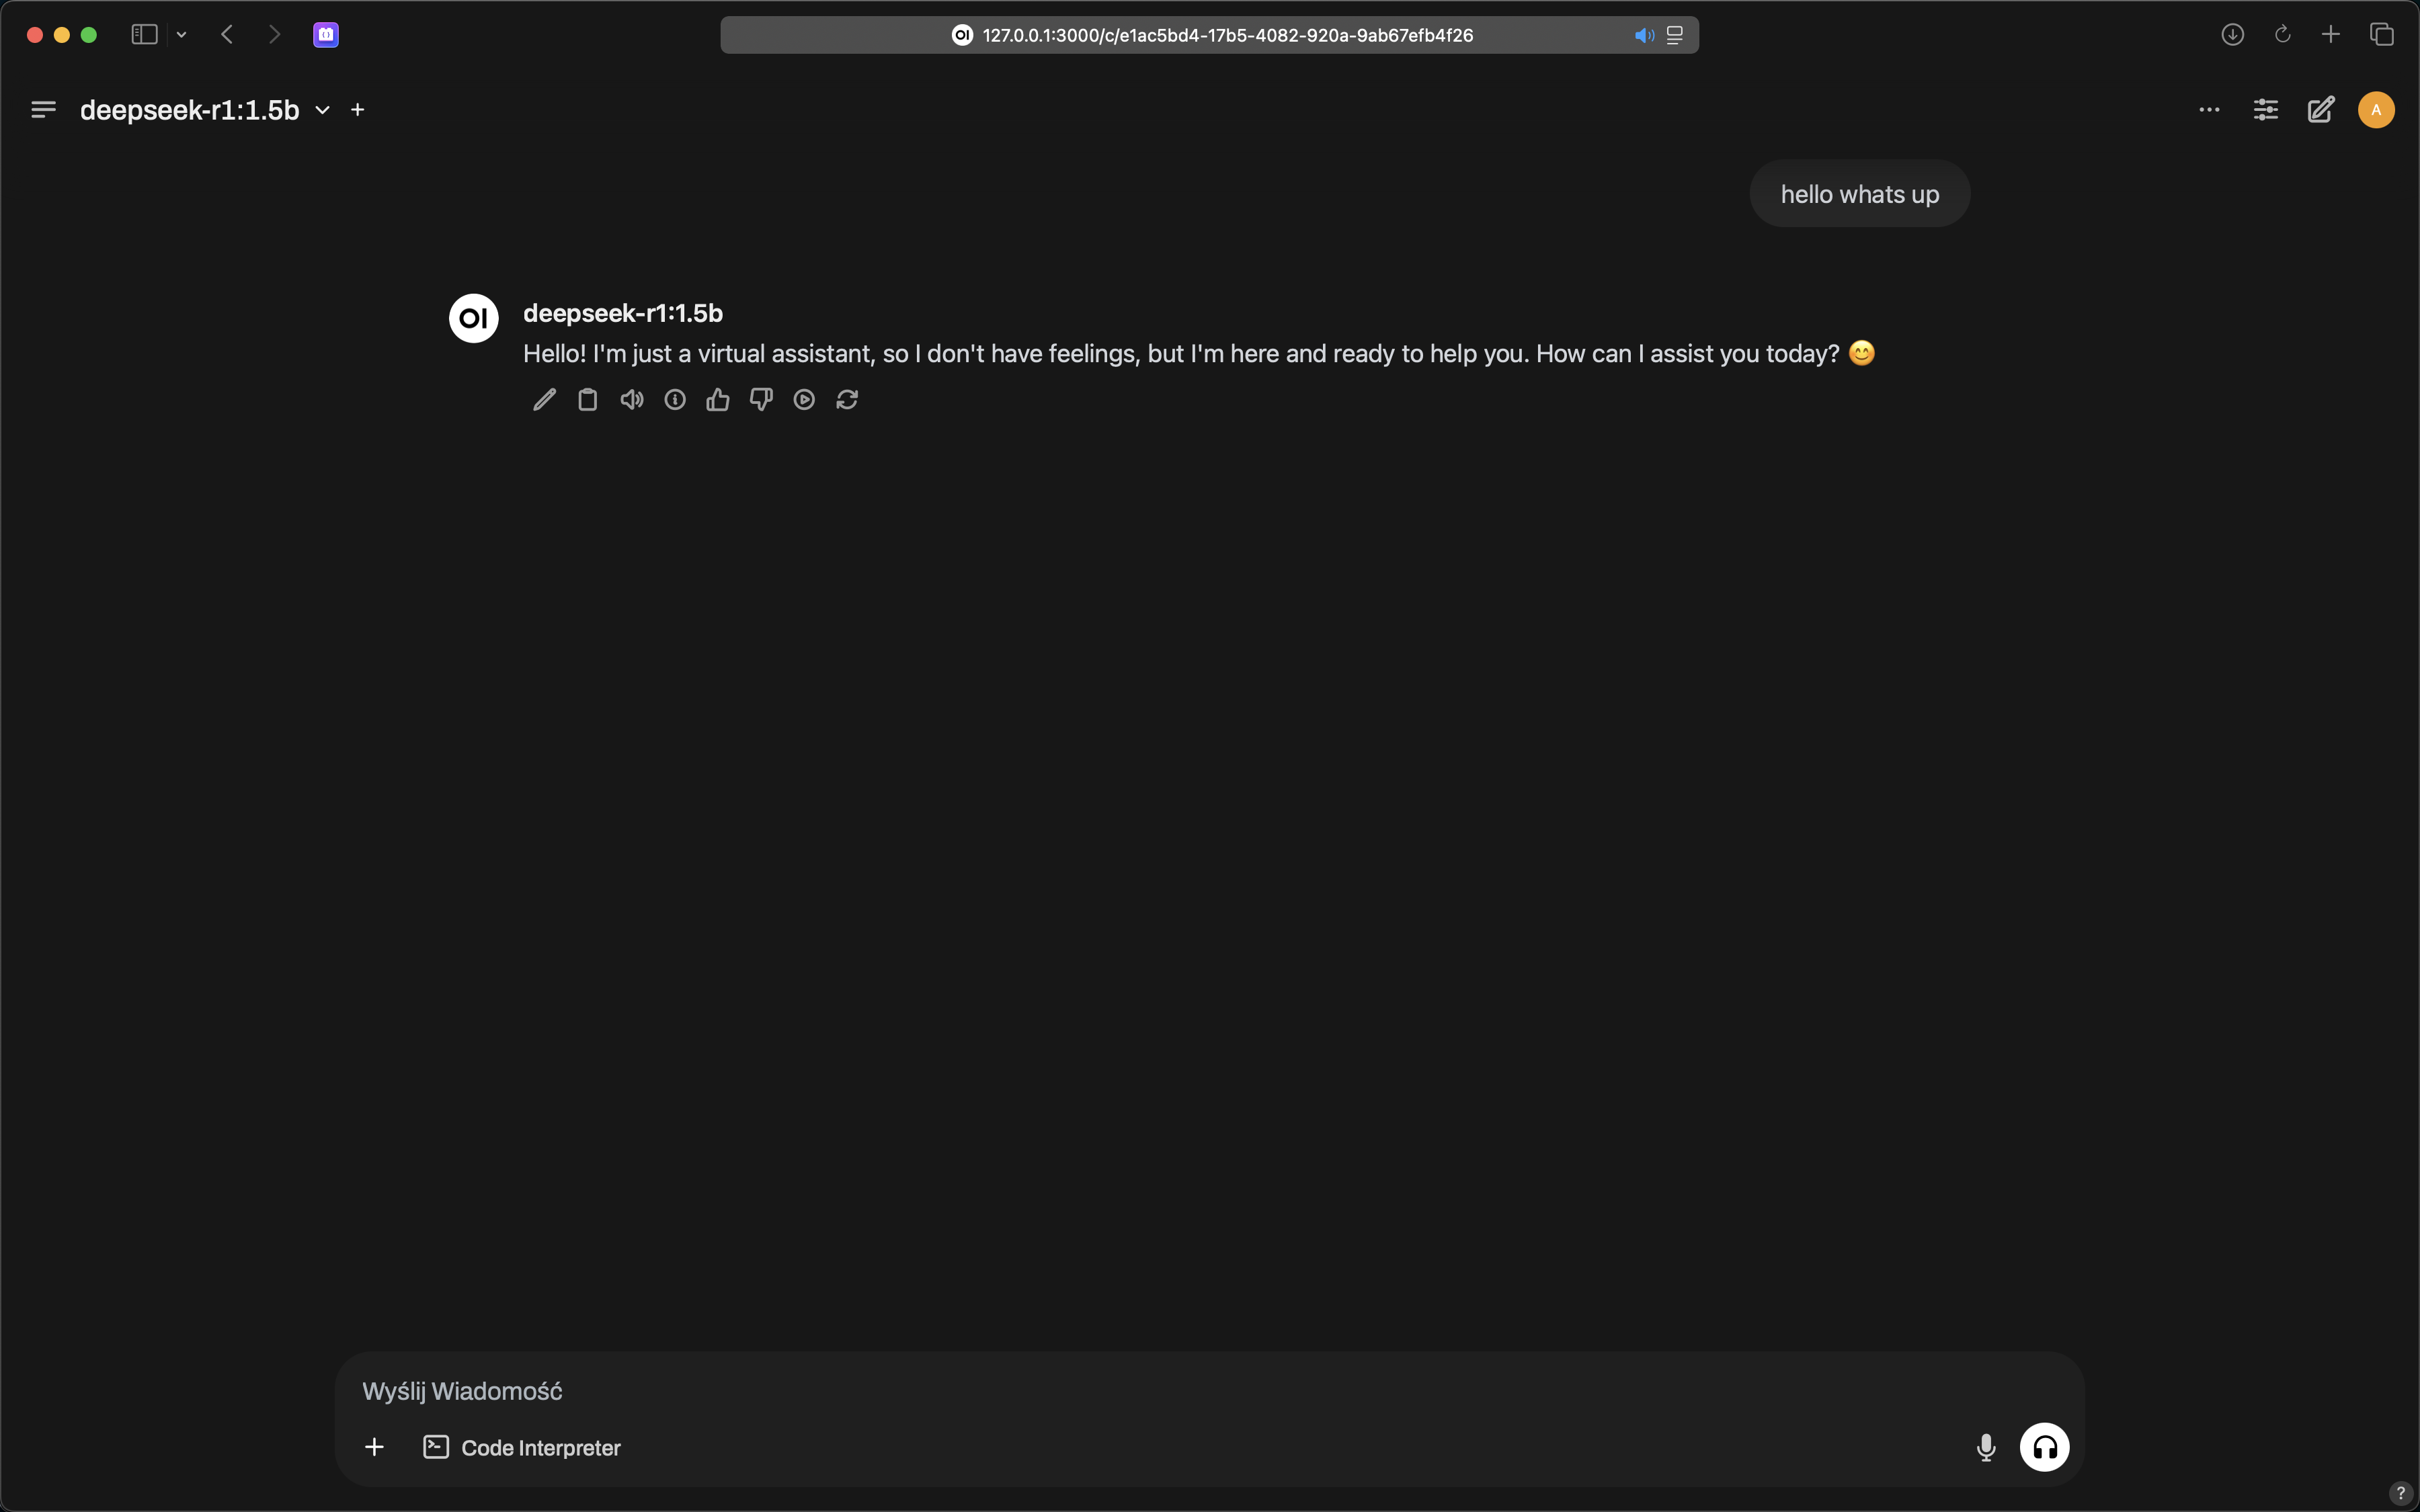
WebUI offers an intuitive, user-friendly interface for interacting with the DeepSeek model without needing to write code. The steps below will guide you through setting up the WebUI using Docker on your Mac M2.
Before we can run DeepSeek in WebUI, you need Docker installed on your machine. Download and install Docker from the official website.
Once Docker is up and running, you can use it to launch the DeepSeek WebUI. We’ll pull and run the official WebUI Docker image. Run the following command to start the container
docker run -d -p 3000:8080 --add-host=host.docker.internal:host-gateway -v open-webui:/app/backend/data --name open-webui --restart always ghcr.io/open-webui/open-webui:main
After running the command, the WebUI will be up and running on port 3000 of your local machine. To access it, open your browser and go to http://localhost:3000
http://localhost:3000
Running DeepSeek with Python
First, ensure that Python is installed on your system. If you don’t have Python installed, follow these steps
brew install python
Install the required dependencies for DeepSeek. You can set up a virtual environment to manage your project dependencies
python3 -m venv deepseek_env
source deepseek_env/bin/activate  # Activate the virtual environment
pip install torch transformers
Next, you’ll download the DeepSeek model using the transformers library. Here’s how to load the model into your Python environment
from transformers import AutoModelForCausalLM, AutoTokenizer

# Define the model you want to use
model_name = "deepseek-ai/DeepSeek-R1-Distill-Qwen-1.5B"

# Download the model and tokenizer
tokenizer = AutoTokenizer.from_pretrained(model_name)
model = AutoModelForCausalLM.from_pretrained(model_name)
By default, Hugging Face caches the downloaded model files in a local directory on your system to avoid re-downloading the same files each time you run the script. The cache location is usually stored in
~/.cache/huggingface/transformers
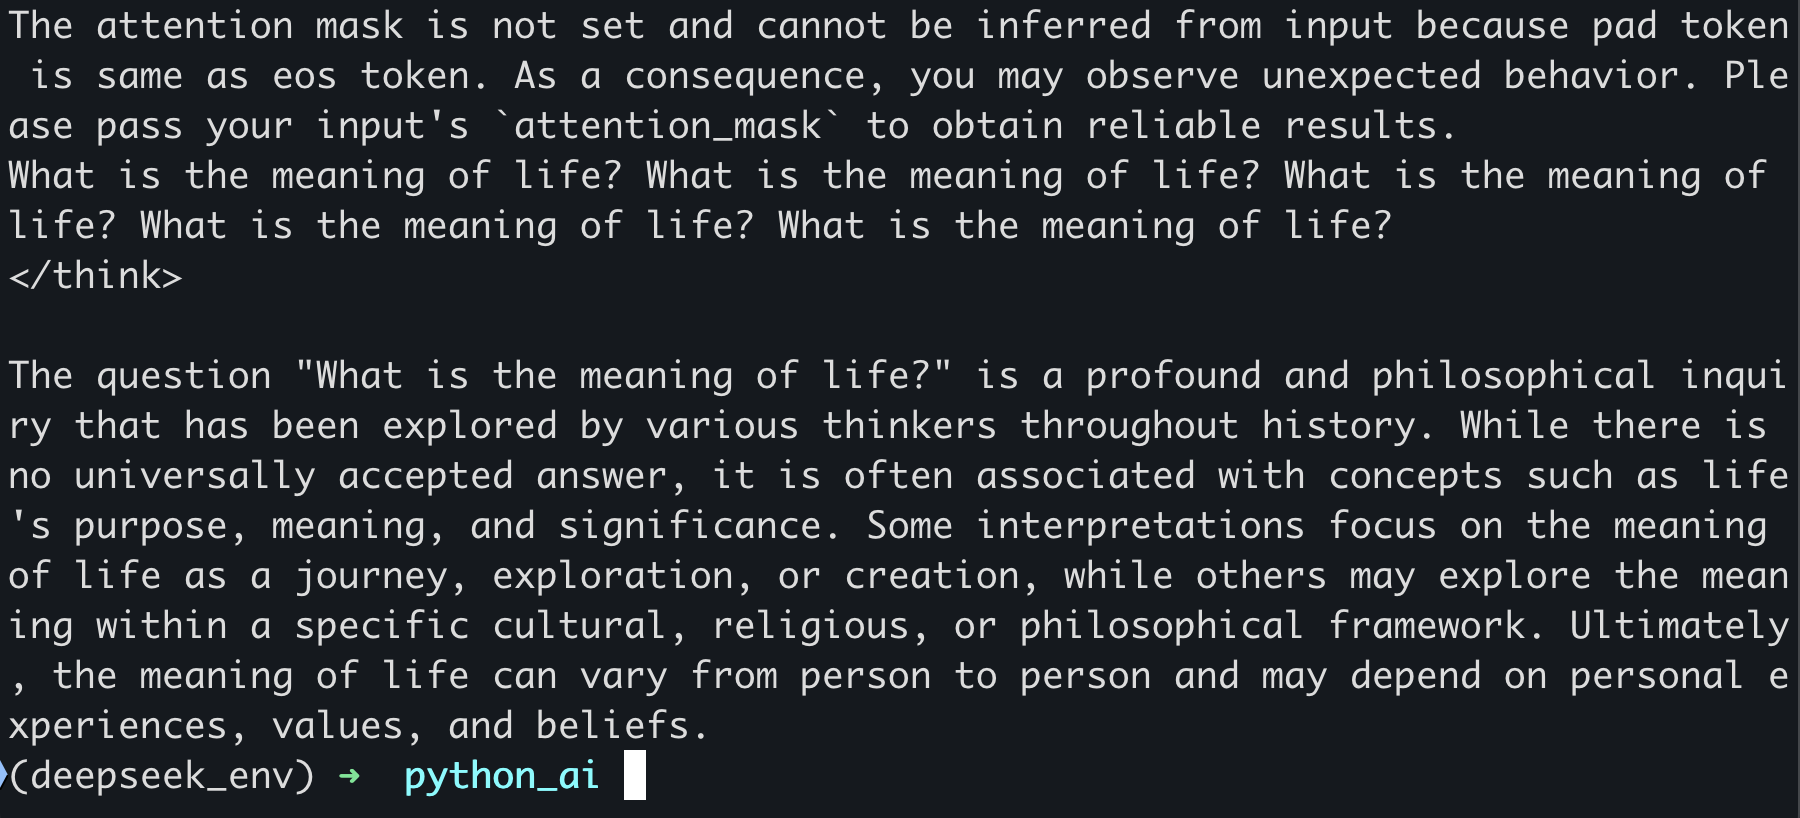
Once the model is downloaded, you can start interacting with it. Here’s an example of how to send a prompt to the model and generate a response
# Define your input prompt
prompt = "What is the meaning of life?"

# Tokenize the input text
inputs = tokenizer(prompt, return_tensors="pt")

# Generate a response
output = model.generate(inputs['input_ids'], max_length=150, num_return_sequences=1)

# Decode and print the response
response = tokenizer.decode(output[0], skip_special_tokens=True)
print(response)
Conclusion
The ability to run DeepSeek locally, for free, on your own hardware marks a significant shift in how we interact with AI models. No longer confined to cloud services with usage fees or data privacy concerns, you now have the freedom to experiment, customize, and deploy these powerful tools right on your machine.
This marks the beginning of a new era, one where the creation of agents, specialized networks, and even personalized AI solutions becomes not just feasible but accessible to anyone with the interest and tools to do so. The potential to fine-tune models for specific tasks, add custom contexts, and build tailored AI systems is now within reach, enabling a whole range of new possibilities.
As AI continues to evolve, this level of local, free access could redefine how we use and interact with these technologies, democratizing them for creators, developers, and innovators. Whether for personal projects, business applications, or just for learning, the tools are now in your hands to build the future of AI.
This is just the beginning so start experimenting, building, and pushing the boundaries of what AI can do for you.


